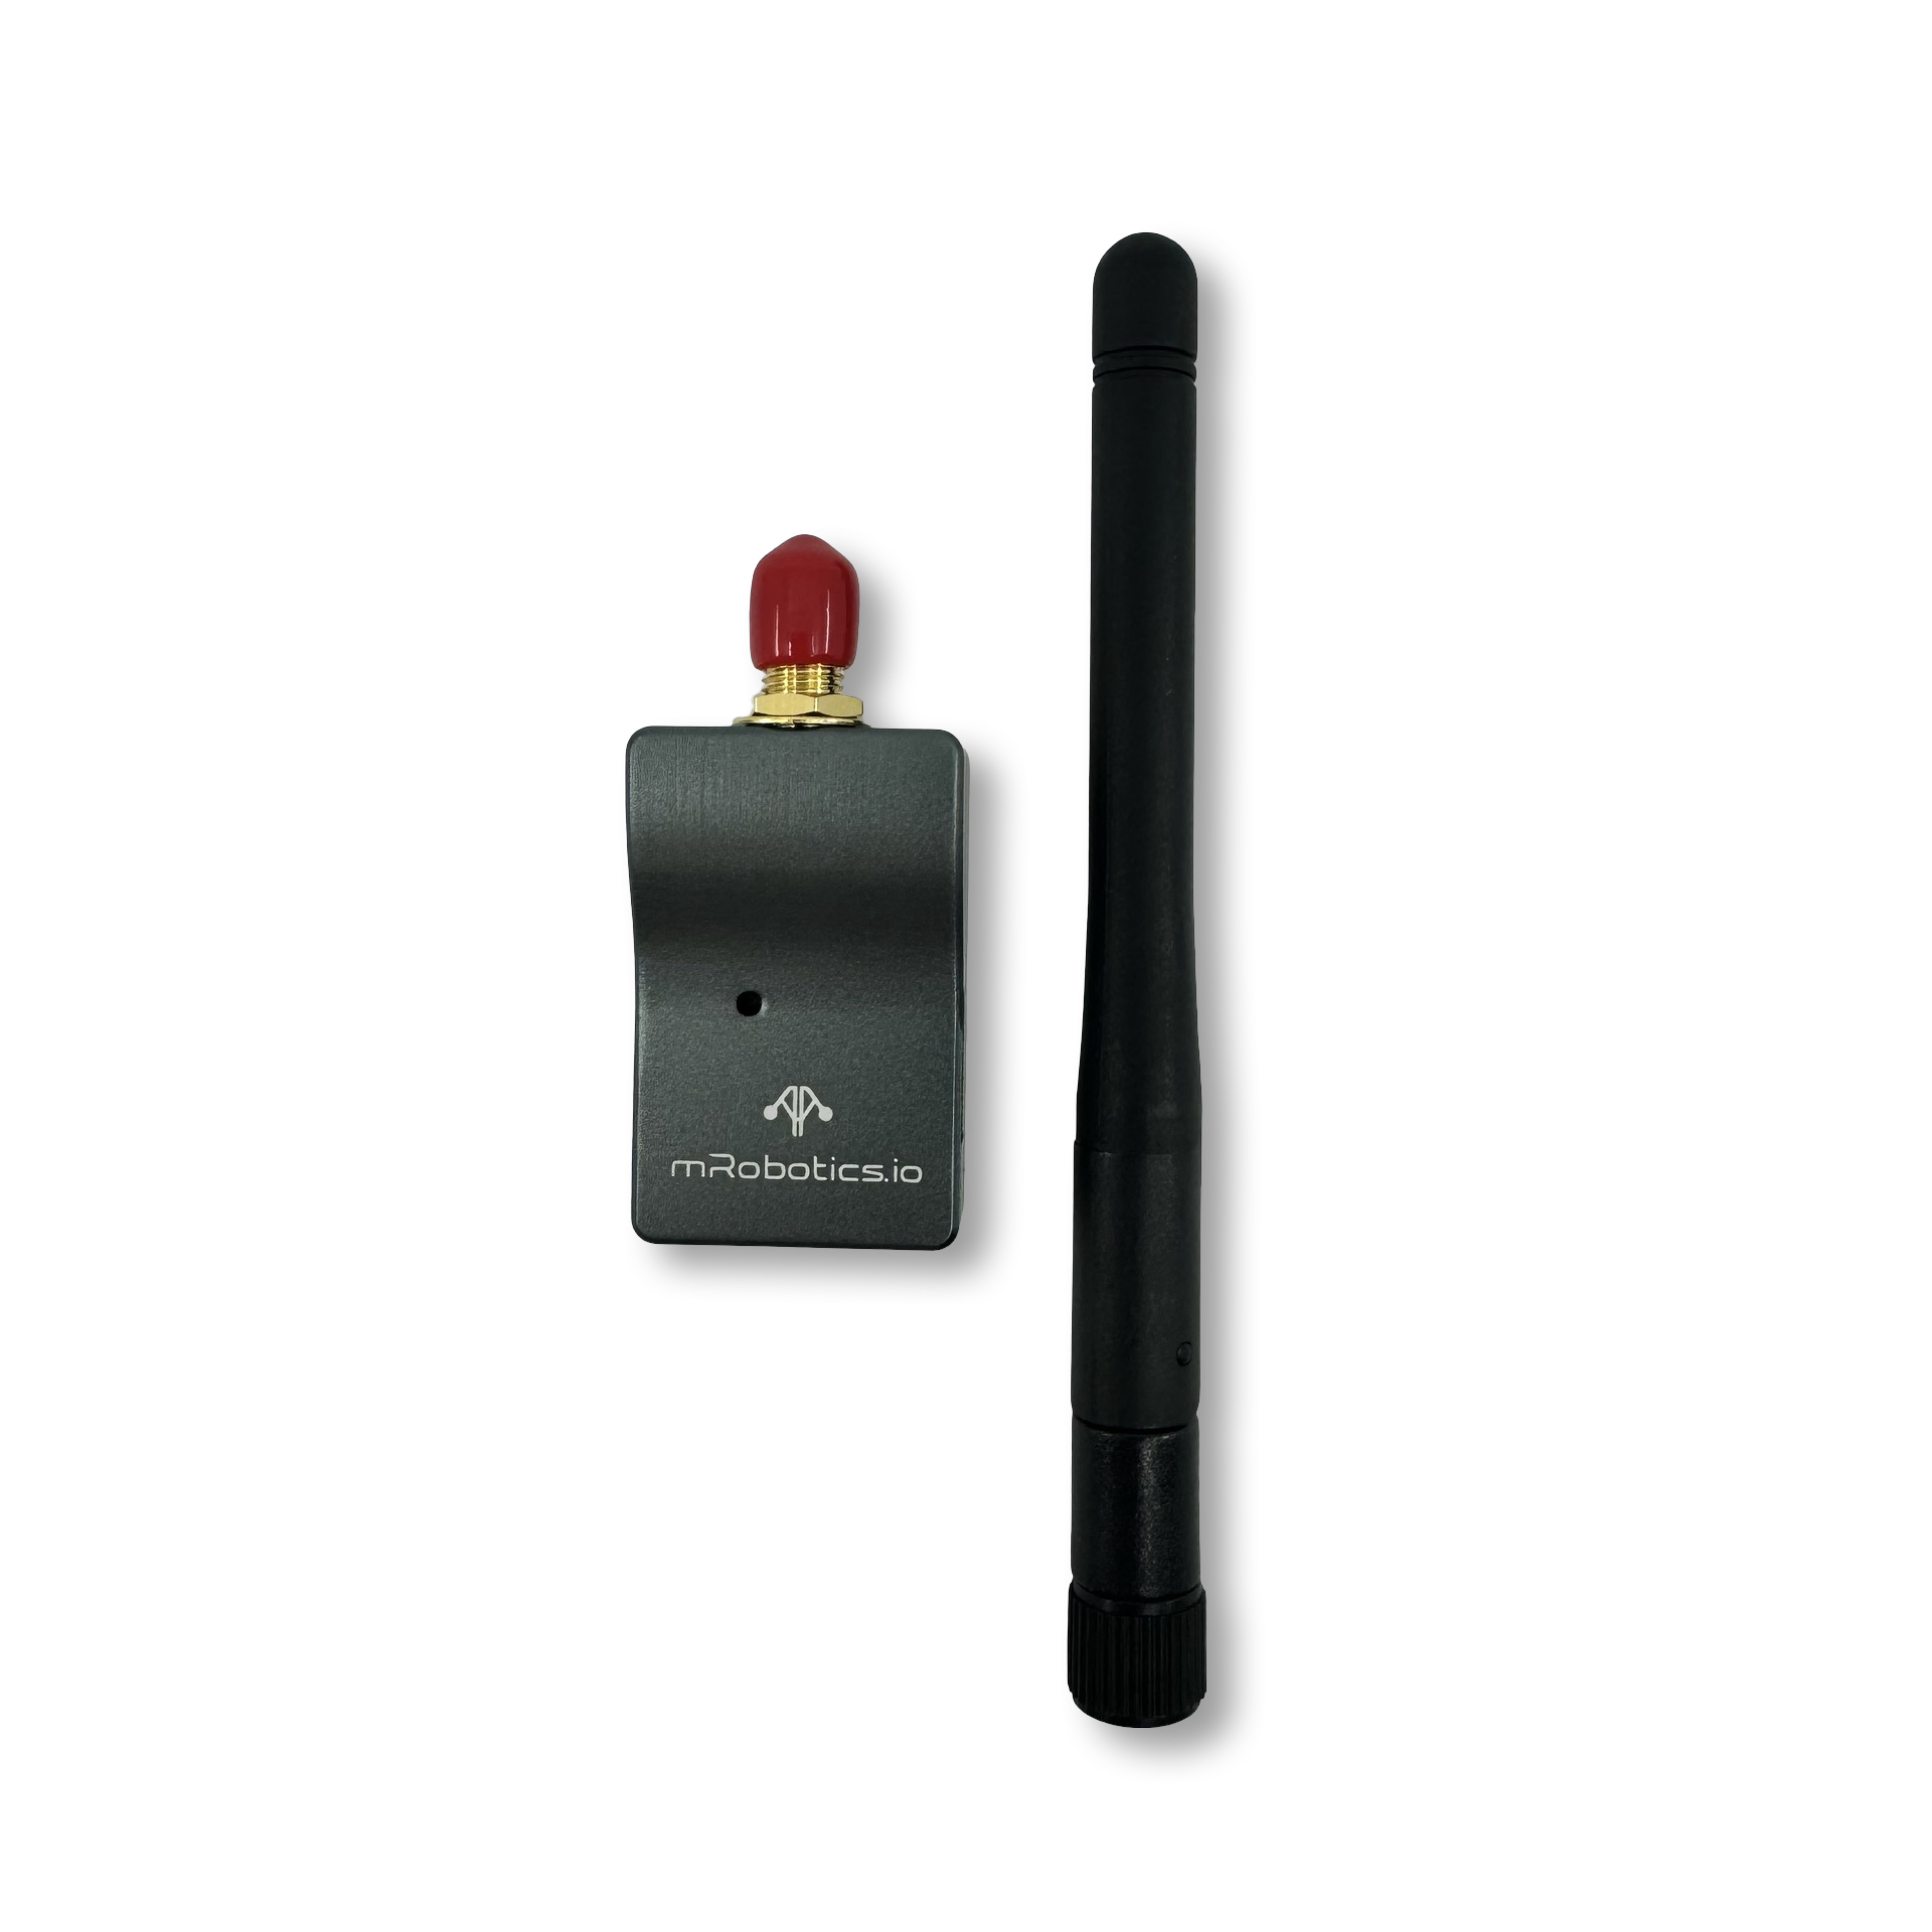
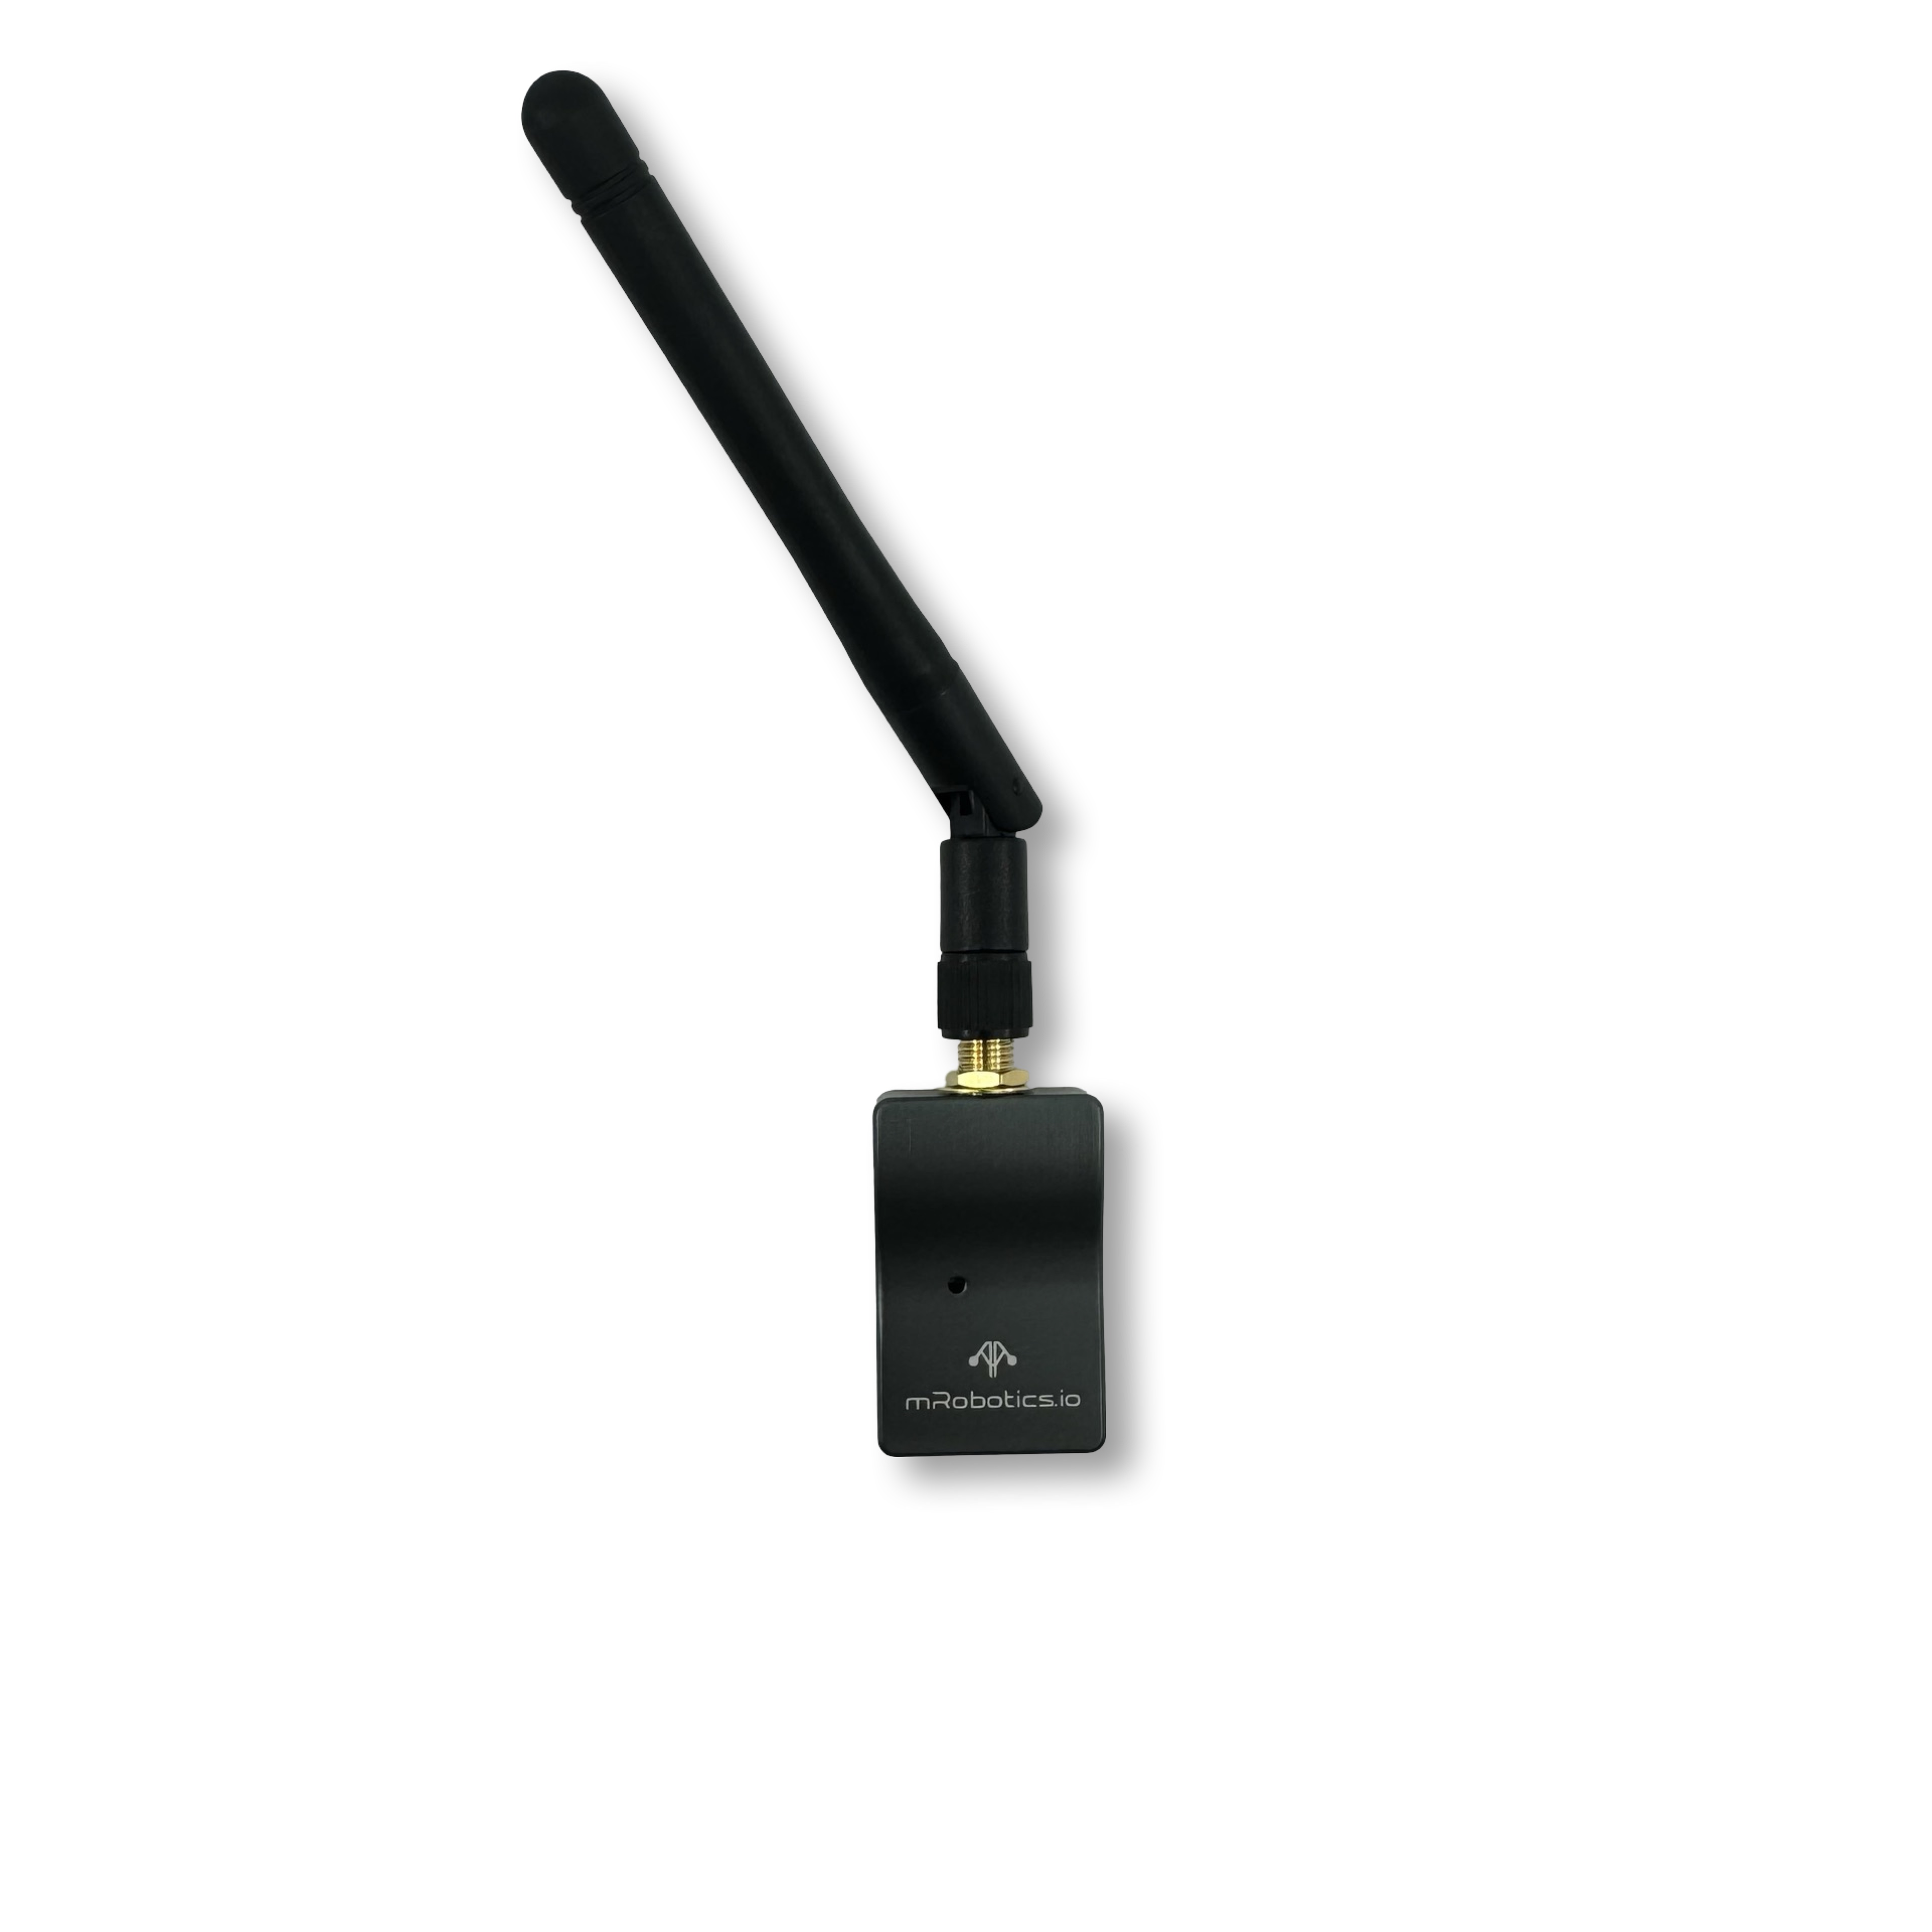
Remote ID - M10049 
FCC ID Disclaimer: This is a product for evaluation, testing and development. Please, expand for more information.
Please note, Remote ID from 3DR, Inc or Mayan Robotics LLC do not possess an FCC ID. These kits are designed to allow:
-
Product developers to evaluate electronic components, circuitry, or software associated with the kit to determine whether to incorporate such items in a finished product, and
-
Software developers write software applications for use with the end product. It is designed to be used by product developers, software developers, and system integrators for assessing electronic components, circuitry, or software associated with the kit.
The assembled kits may not be resold or marketed unless all necessary FCC equipment authorizations have been obtained.
Users accept full responsibility for ensuring compliance with any applicable FCC regulations or authorizations should they choose to use this kit for further development or integration purposes.
Remote ID is planned to be a legal requirement in some countries like US. If your drone lacks of it, this is a great option for you! With 3DR RemoteID, you'll be able to transmit your data over WiFi and BLE to your vehicle's nearby surroundings.
ArduPilot provides support for OpenDroneID in firmware versions 4.2 and later via MAVLink to an OpenDroneID compatible RemoteID module attached to either a serial port or DroneCAN port on the autopilot.
The position and other information can be provided from the connected autopilot or the optional GPS + Baro direct connection to this accessory (feature release date is TBD, stay tuned!).
Quick Start
You have two ways to supply power into the system, plus three physical interfaces to communicate with it, giving you more flexibility to match your needs. However, for most applications, connecting it through CAN to your autopilot should be enough.
Power
You have two ways to supply power up the device:
- CAN (5V, default)
- USB-C (5V)
Note
To use the power from a USB interface, please refer to Selecting power source
Communication
To communicate with the device, you have three physical options, with an additional wireless option to update OTA :
- CAN
- RemoteID port (UART)
- USB (Serial/Debug)
- WiFi (Update OTA)
Note
For more information consider to look at ArduRemoteID Repository.
Specifications
| Specifications | 3DR RemoteID |
|---|---|
| Receiver sensitivity | TBD |
| Transmit power | TBD |
| Air Data transfer rates | TBD |
| Dimensions | 55.7mm x 25.7mm x 13mm |
| Weight | 14.3g (0.50 oz)/22.24g (0.78 oz) with antenna |
Status LEDs
The RemoteID device has one LED. The meaning of the different LED states is:
- TBD
Pinout
CAN
| Pin (wire color) | Signal – Flight Controller Perspective (Direction) | Signal RemoteID Perspective (Direction) | Volt |
|---|---|---|---|
| 1 (red) | VCC | VCC | +5V |
| 2 (black) | CAN_H | CAN_H | +3.5V |
| 3 (black) | CAN_L | CAN_L | +1.5V |
| 4 (black) | GROUND | GROUND | GND |
RemoteID port
| Pin (wire color) | Signal – Flight Controller Perspective (Direction) | Signal RemoteID Perspective (Direction) | Volt |
|---|---|---|---|
| 1 (red) | VCC | VCC | +5V |
| 2 (black) | TX | RX | +3.3V |
| 3 (black) | RX | TX | +3.3V |
| 4 (black) | GROUND | GROUND | GND |
GPS + Baro Port
| Pin (wire color) | Signal – Flight Controller Perspective (Direction) | Signal RemoteID Perspective (Direction) | Volt |
|---|---|---|---|
| 1 (red) | VCC | VCC | +5V |
| 2 (black) | TX | RX | +3.3V |
| 3 (black) | RX | TX | +3.3V |
| 4 (black) | SCL | SCL | TBD |
| 5 (black) | SDA | SDA | TBD |
| 6 (black) | GROUND | GROUND | GND |
Selecting power source
The user can find a visual guide next to the solder joint. To use the power directly from the USB Connector, cut the solder joint.
To return to default settings, a solder joint should be placed between the trace that was cut and remove the one directed to the USB supply.